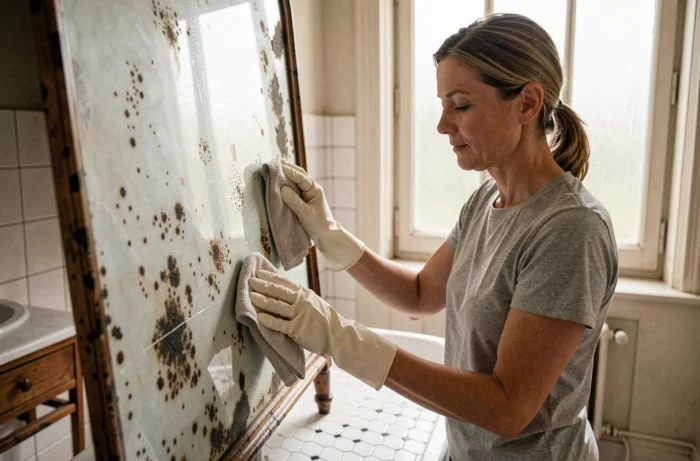
An antique mirror hanging in the entrance, with three or four dark spots gnawing at the reflection from the edges. You wipe it with a cloth, but the spots remain. You try a glass cleaner, but nothing changes.
These marks are not dirt: they indicate that the silvering, the metallic layer at the back of the glass, has deteriorated. Before scrubbing harder or pulling out an aggressive cleaner, it’s best to understand what is really happening beneath the surface.
Pitted areas on a mirror: clean or stop scrubbing
The first mistake is treating a pitted mirror like a dirty one. On a simply dirty mirror, the problem is on the glass side: fingerprints, limescale splashes, dust. A standard cleaning is sufficient.
On a pitted mirror, the issue comes from the back. Moisture has corroded the silvering (silver or aluminum depending on the era), and the reflective layer has disappeared in places. Scrubbing a pitted area worsens the situation: you risk detaching fragments of silvering still in place around the spot.
The distinction to make before any intervention boils down to one question: are the black or gray spots localized on the edges, or spread across the entire surface? Pitting concentrated on the periphery often indicates moisture infiltration from the sides, especially in a bathroom. Scattered spots signal a silvering at the end of its life.
In the latter case, you can try to clean a pitted and damaged mirror to slow down the degradation, but you must accept that cleaning alone will not restore the lost reflection.
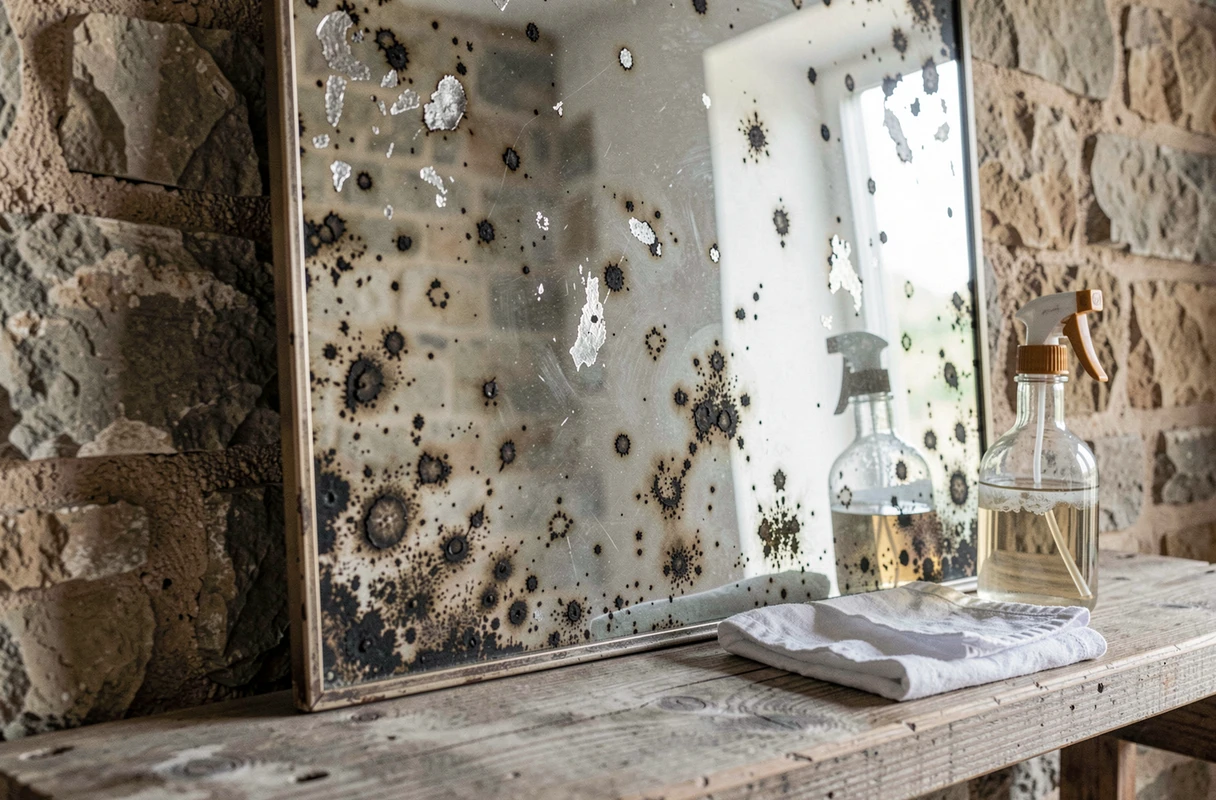
Gentle cleaning of a pitted mirror: method for the glass side and the silvering side
When the damaged areas remain limited, appropriate cleaning can stabilize the condition of the mirror without accelerating corrosion. There are two sides to treat, and each requires a different approach.
Visible side: the glass
Use a slightly damp microfiber cloth with a mixture of warm water and white vinegar. The motion goes from the center towards the edges, without pressing on the already pitted areas. A second dry microfiber cloth is used to wipe immediately to avoid streaks.
- No ammonia-based products: it can migrate to the edges and attack the remaining silvering by capillarity.
- No abrasive sponges or scrapers: antique glass is often softer than contemporary glass.
- No stagnant water on the edges of the frame, especially if the mirror is old and the seal has disappeared.
Back side: the protective layer of the silvering
This is an angle rarely addressed in consumer guides. Before any touch-up, cleaning the back of the mirror is a preliminary step. Dust is removed, and areas where the protective layer (varnish or paint) is flaking are identified.
If residues come off, a razor blade held flat allows for their removal without scratching the silvering. Always work in the same direction, without circular motion.
Whiting and diluted vinegar: what works and what damages
It is often said that whiting is the miracle product for restoring an antique mirror. In practice, whiting cleans the glass, not the silvering. It gives a nice shine to the glass surface, removes stubborn limescale marks, but it will never fill a spot where the reflective layer has disappeared.
To use it correctly, mix it with a little water until you obtain a light paste. Apply it with a soft cloth on the glass, let it dry, then polish with a dry cloth. The result is visible on the healthy parts of the mirror.
Diluted white vinegar works well for routine cleaning. Feedback varies on the ideal concentration, but a ratio of one part vinegar to three or four parts water is suitable in most cases. Pure alcohol, on the other hand, should be avoided on old silvering: it can dissolve residues of protective varnish at the back if the product runs along the edge.

Pitted mirror in the bathroom: touch-up of the silvering or replacement of the glass
A mirror installed in a bathroom undergoes daily cycles of humidity. If the pitting covers more than a quarter of the surface, cleaning becomes a cosmetic maintenance gesture that will not change the overall appearance.
The question to ask concerns the size and location of the damaged areas. Pitting confined to the corners can be masked by a wider frame or by a local touch-up of the silvering with mirror paint applied to the back. The result will never be as clear as original silvering, but it remains discreet on small surfaces.
If the spots occupy the central area of the mirror, where one looks at oneself, the touch-up does not yield a satisfactory result. In this case, two options arise:
- Have a new glass cut to the dimensions of the existing frame, preserving an old frame that is cherished.
- Embrace the patinated look of the pitted mirror and keep it as is as a decorative element, without trying to restore its original function.
In a bathroom, protecting the back of the mirror with a varnish suitable for humidity significantly slows down the progression of pitting. This is often more effective than any repeated cleaning on the glass side.
Protecting an antique mirror after cleaning
Once the mirror is cleaned and stabilized, the goal is to prevent moisture from resuming its destructive work. On the back side, a layer of marine varnish or protective paint on areas where the original coating has disappeared creates an effective barrier.
On the installation side, keep the mirror away from direct sources of steam. An antique mirror in a bathroom without mechanical ventilation will continue to pit, no matter how careful the cleaning is. If the mirror cannot be moved, a proper ventilation system remains the best protection for the silvering.
The frame also deserves a check. An untreated wooden frame absorbs moisture and transmits it to the silvering by contact. A simple application of wax or varnish on the inside of the frame, where it touches the mirror, limits this transfer.
Cleaning a pitted mirror makes sense as long as the silvering remains mostly intact. Beyond a certain threshold of degradation, it saves time and energy to move directly to a targeted touch-up or glass replacement, keeping the frame that gives all the charm to the piece.