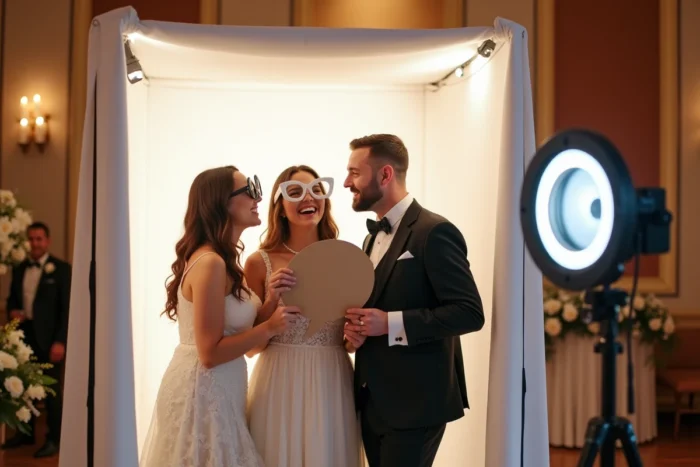
The positioning height of a photobooth greatly influences the quality of each shot more than the choice of camera or software. We regularly observe setups where the booth is fixed at a standard height without considering the actual audience, resulting in unflattering low-angle portraits or cropped frames at forehead level. Understanding the optical and ergonomic constraints related to height helps avoid these recurring mistakes.
Shooting Angle and Distortion: What Height Changes on the Lens
A lens placed too low relative to the face creates a low-angle shot that broadens the jaw and reduces the forehead. Conversely, a position that is too high excessively narrows the chin and gives a squashed look. The optical axis should intersect the face between the nose and the eyes to minimize these distortions.
On most photobooth setups equipped with a wide-angle lens (short focal length), this distortion is amplified. The wider the lens, the more a few centimeters of height difference distorts proportions. We recommend testing each installation with an average-height person standing at the intended distance, then adjusting the booth until a neutral framing is achieved.
To ensure successful photobooth photos, it is also important to consider the actual focal length used. A classic portrait lens (around 50 mm equivalent) is more forgiving of height discrepancies than a 24 mm. If your booth features a wide-angle lens, the precision of vertical positioning becomes non-negotiable.
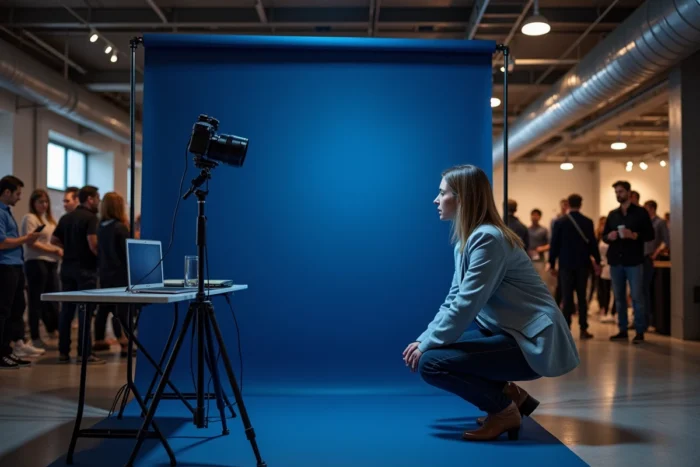
Photobooth Height According to Target Audience
An exclusively adult audience is managed differently than a family event. For adults, a booth height between 1.65 and 1.75 m positions the lens in front of the faces of most users. This range corresponds to the eye-nose zone of an average-height person standing.
When the event hosts many children, the logic changes. A setup at about 1.40 m allows younger ones to be in the frame without looking up. Two options arise:
- Use a height-adjustable booth that can be repositioned between each group based on size
- Fix the booth at an intermediate height (around 1.50 m) and slightly tilt the lens upward to accommodate both adults and children
- Provide a stable and wide enough step stool for children to climb safely while keeping the booth at adult height
Accessibility is not limited to children. A booth set too high excludes people in wheelchairs or of shorter stature. A height-adjustable booth resolves most accessibility issues without compromising framing.
Receding Space and Group Framing at the Photobooth
Height alone is not enough. A photobooth installed in a narrow corner forces guests to crowd the lens, which accentuates perspective distortions and prevents group photos.
Allowing two to three meters of space in front of the booth enables a group of four or five people to fit into the frame without being cramped at the edges. This distance also affects the perceived height of the lens: the closer the subjects are, the more the shooting angle varies between a tall person and a short person in the same shot.
In practice, we mark the ground to indicate the optimal distance. Guests naturally position themselves there, and the framing remains consistent from photo to photo. This marker also prevents some from positioning themselves too close to the backdrop, which creates harsh shadows on the decor.
Closed Cabin Photobooth: Specific Constraints
The cabin format imposes a different logic. The cabin must offer at least two meters of interior height so that standing users are not cut off at the top of the frame. The restricted space reduces the distance between the lens and the face, making vertical positioning of the device even more critical.
In this format, the lens is often fixed. It is then necessary to adjust the seating (adjustable stool, bench at the right height) so that users’ faces naturally align with the optics.
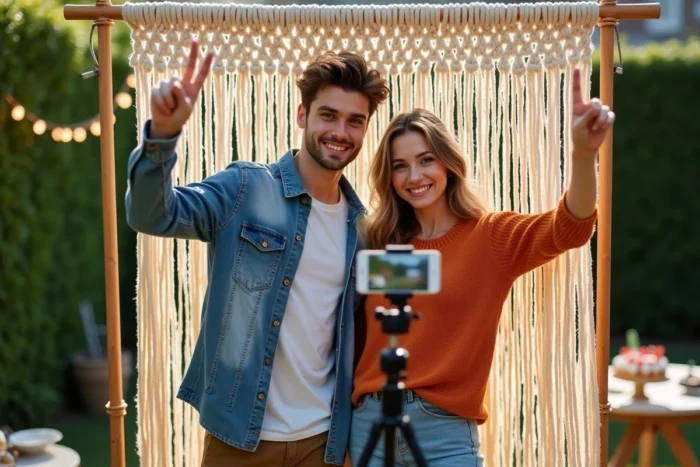
Light and Height: Two Interrelated Settings on a Photobooth
A rarely addressed point: the height of the light source relative to the lens radically changes the output. A ring flash or LED panel integrated into the booth illuminates from the same height as the lens. If the booth is too low, the light comes up from below the chin and creates dark circles, producing a horror movie lighting effect.
When the booth is at the right height, the light arrives slightly above the eye level, creating flattering modeling with slight shadows under the nose and chin. This principle, well-known in portrait lighting, directly applies to the photobooth since the source and optics are fixed together.
For setups where the lighting is separate from the booth (off-camera flash, softbox), the height of the flash must remain consistent with that of the lens. A flash positioned at two meters while the booth is at 1.50 m creates a too steep lighting angle that flattens the features.
Pre-Event Adjustment Checklist
We systematically apply these checks before each setup:
- Measure the height of the lens relative to the ground and compare it to the profile of the expected guests (adults, children, mixed audience)
- Check the available receding space in front of the booth and place a marker on the ground between two and three meters
- Conduct a framing test with two people of different heights to detect any distortion
- Check the consistency between the height of the light source and that of the lens
- Ensure that the backdrop is wide and tall enough to cover the frame without visible edges at the chosen receding distance
A well-adjusted photobooth height produces flattering photos without retouching. Most of the mistakes we correct in post-production could have been avoided with an adjustment of a few centimeters at the time of installation. Five minutes of on-site calibration is worth more than an hour of cropping after the event.