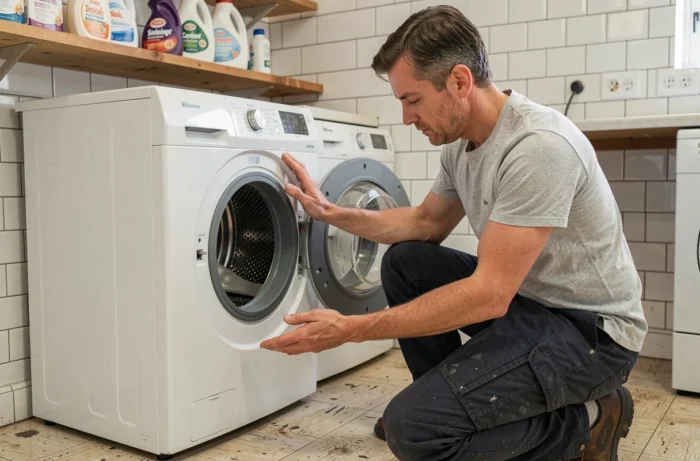
A drum that bangs against the tub with every spin, vibrations that make the floor shake: the problem often comes from a loose or worn fastening part, not from a machine at the end of its life. Before contacting a repairman, several interventions can help stabilize the drum with common tools and a few precautions.
Welded tub or removable tub: the diagnosis that changes everything
Have you ever opened the back panel of your washing machine? This first glance determines the next steps. On older models, the tub separates into two bolted half-shells. Replacing a bearing or a drum shaft is then accessible to a equipped DIYer.
On many recent machines, the tub is welded or crimped. This design greatly complicates the replacement of bearings at home, as it requires cutting the tub and then re-gluing or completely replacing it. Identifying the type of tub before any intervention avoids unnecessary disassembly of the machine.
To know what you are dealing with, locate the model reference on the label (often stuck on the door frame or at the back). A quick search with this reference will indicate whether the tub is openable. When looking to fix the drum of a washing machine, this prior check saves time and avoids purchasing incompatible parts.
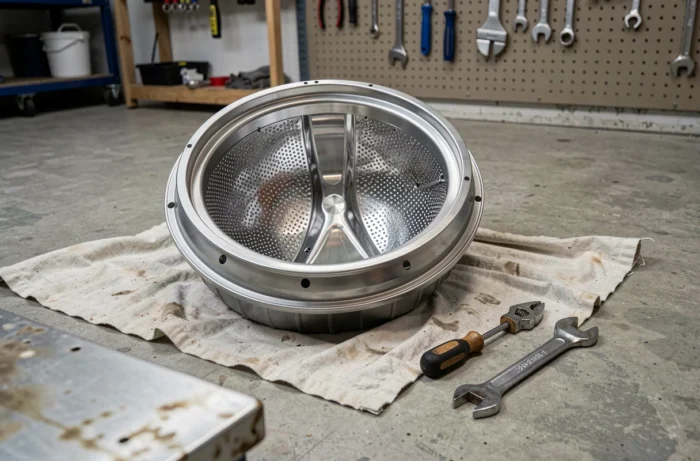
Shock absorbers and suspension springs: the fastenings to check first
The drum does not float freely in the tub. It is held by a suspension system made up of springs (at the top) and shock absorbers (at the bottom). When one of these elements fails, the drum tilts to one side and hits the tub during the spin cycle.
Test the shock absorbers without removing them
Open the door, press firmly down on the drum, then release. A well-damped drum rises slowly and comes to a stop in one oscillation. If it bounces several times like a spring, the shock absorbers are worn out.
Replacement is done from underneath the machine (lay it on its side, on a blanket). The shock absorbers are secured with clips or pins accessible with pliers. Always change both at the same time, even if only one seems faulty: a new shock absorber paired with a worn one creates an imbalance.
Check the suspension springs
The springs are located between the top of the tub and the chassis. A broken spring is visually identifiable: the tub tilts to one side. Sometimes the spring is not broken but has come loose from its anchor point. Reattaching a loose spring to its hook often resolves the issue. Use a flashlight to inspect both sides and the back.
Drum bearings: recognize wear and assess repair
A deep rumbling that intensifies during the spin cycle, noticeable play when you move the drum by hand (up-down or front-back): these are typical signs of worn bearings. This issue concerns the central shaft that connects the drum to the tub.
On a removable tub, replacing the bearings requires separating the two half-shells, extracting the old bearings with a punch, and then pressing in the new ones with a press or mallet. The operation takes several hours but is feasible at home with minimal tools.
On a welded tub, the difficulty increases significantly. Some DIYers cut the tub with a saw and then re-glue it with suitable sealant, but the result entirely depends on the precision of the reassembly. A poorly re-glued tub will cause leaks from the first cycle.
The European directive on the right to repair requires washing machine manufacturers to ensure a minimum availability of spare parts (tub, drum, bearings, seals) for at least ten years. Finding new bearings for your model should therefore not be a problem, even for a machine that is a few years old.
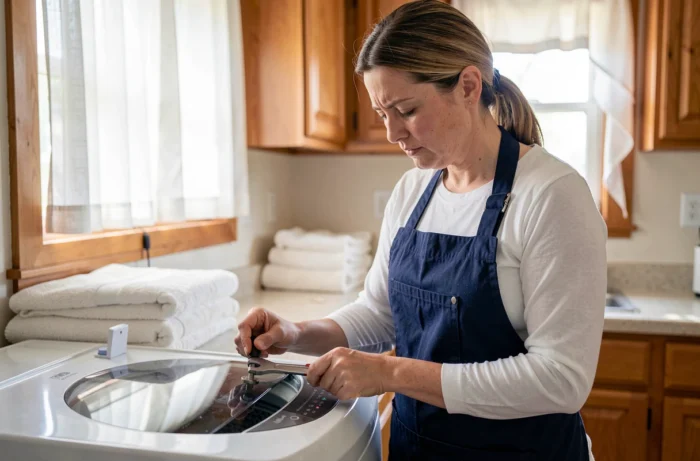
Broken or detached drum paddles: a quick repair
The paddles (sometimes called “lifters”) are the plastic pieces attached inside the drum that agitate the laundry. When a paddle breaks or detaches, it causes an imbalance: the load of laundry is no longer distributed correctly and the drum vibrates abnormally.
The good news: replacing a paddle takes less than twenty minutes. Each paddle is held by a screw or clip accessible from inside the drum. Here’s how to proceed:
- Open the door and locate the damaged paddle. Turn the drum by hand to access the fastening screw, often hidden under a plastic cover or at the back of the paddle.
- Remove the screw (Torx or Phillips screwdriver depending on the model), then free the paddle by sliding it towards the center of the drum.
- Position the new paddle in the designated notches, replace the screw, and check that the piece does not move by pressing it firmly.
Paddles are inexpensive and widely available. Replace all paddles at the same time if they show signs of fragility (cracks, discoloration).
Transport bolts and counterweights: two often-overlooked causes of vibration
Did you remove the transport bolts when installing your machine? These metal screws, located at the back, lock the drum to prevent damage during transport. Forgetting to remove them causes intense vibrations and can damage the tub.
The other lesser-known source of vibration concerns the counterweights. These are concrete blocks fixed to the tub (top and bottom) that stabilize the entire unit during the spin cycle. Over time, the fastening screws of the counterweights can loosen. A moving counterweight produces a regular knocking noise.
- Access the counterweights by removing the top panel of the machine (two screws at the back, then slide the cover back).
- Check the tightness of each fastening screw with a socket wrench. Tighten firmly without forcing to avoid cracking the concrete.
- Take the opportunity to visually inspect the counterweight: a cracked or split block must be replaced, as it has lost its damping effectiveness.
These checks take a few minutes and resolve a significant portion of vibration problems, without any parts to buy when it’s just a matter of tightening.
A vibrating drum does not always mean a serious breakdown. Detached springs, worn shock absorbers, forgotten transport bolts, loose counterweights: most of these interventions require a screwdriver, a socket wrench, and a bit of method. Start with a visual diagnosis, identify the type of tub, and then target the concerned part. The right to repair ensures access to spare parts for a long duration, making these home repairs viable in the long term.